Uses
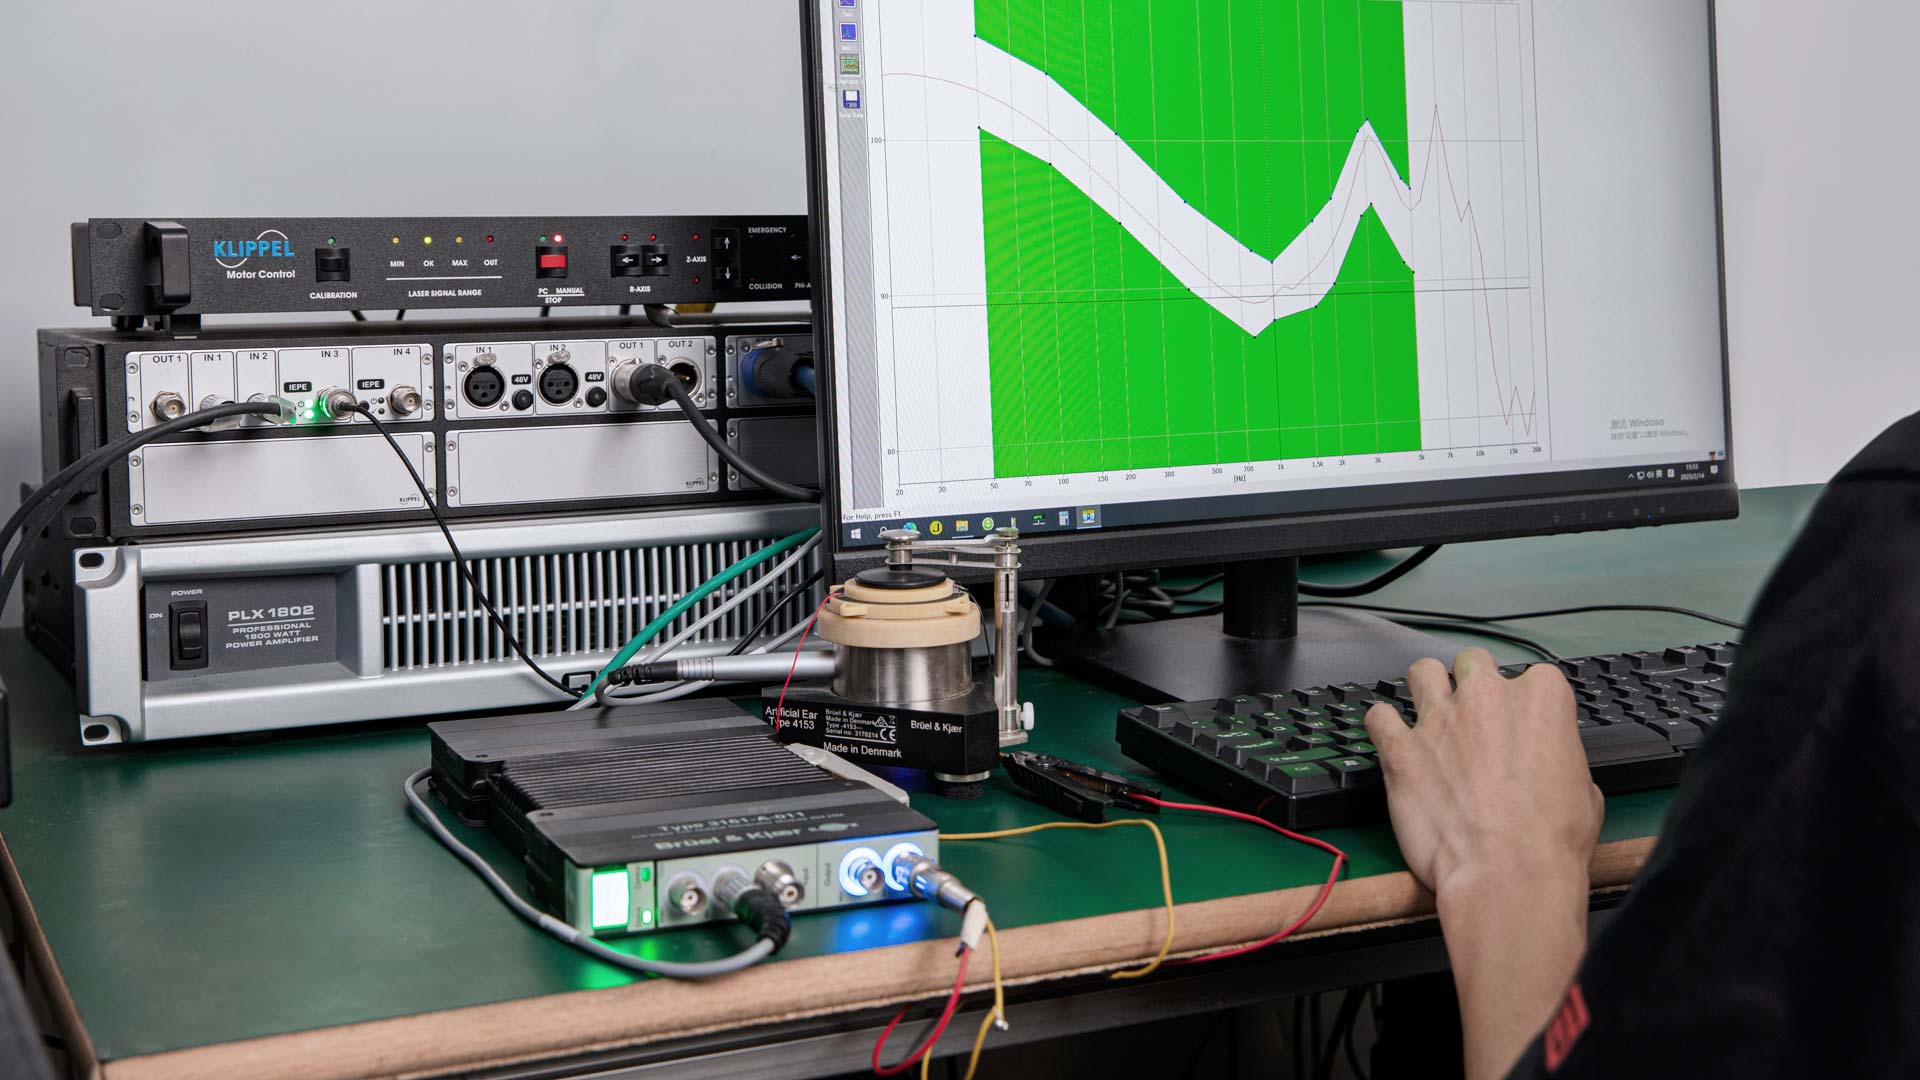
Pre-qualification of electro-acoustic transducers
Sample testing and quality assurance of electro acoustic transducers
Linear and non-linear system analysis
Main features
Precision acoustic measurement such as SPL (Sound Pressure Level), harmonic distortions, and impedance both in magnitude and phase domains
Loudness rating calculation
Uses
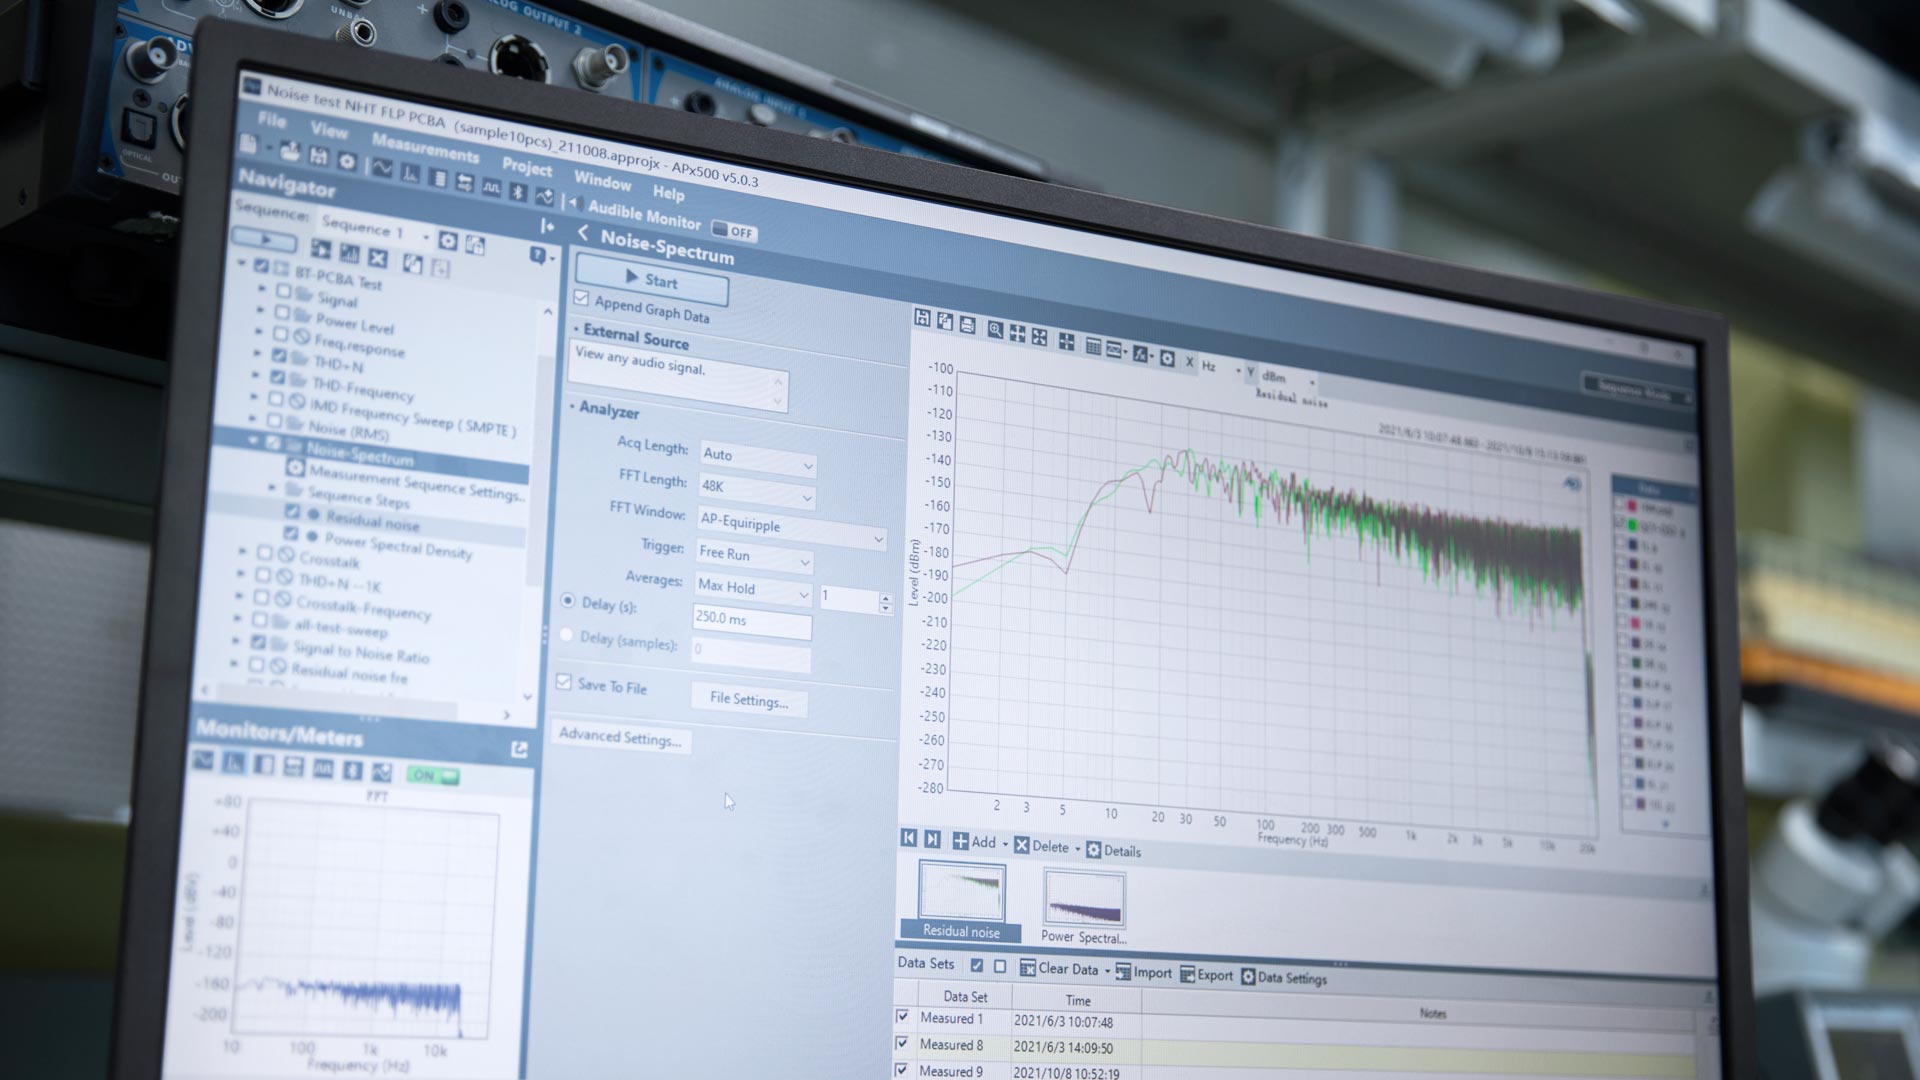
Precision electrical audio signal measurement such as level, THD+N (Total Harmonic Distorsion + Noise), S/N (Signal to Noise ratio), wawe form, etc., down to -120dB noise level
Main measurement
Level
Frequency response
TDH+N
Phase
Crosstalk
Noise level
Uses
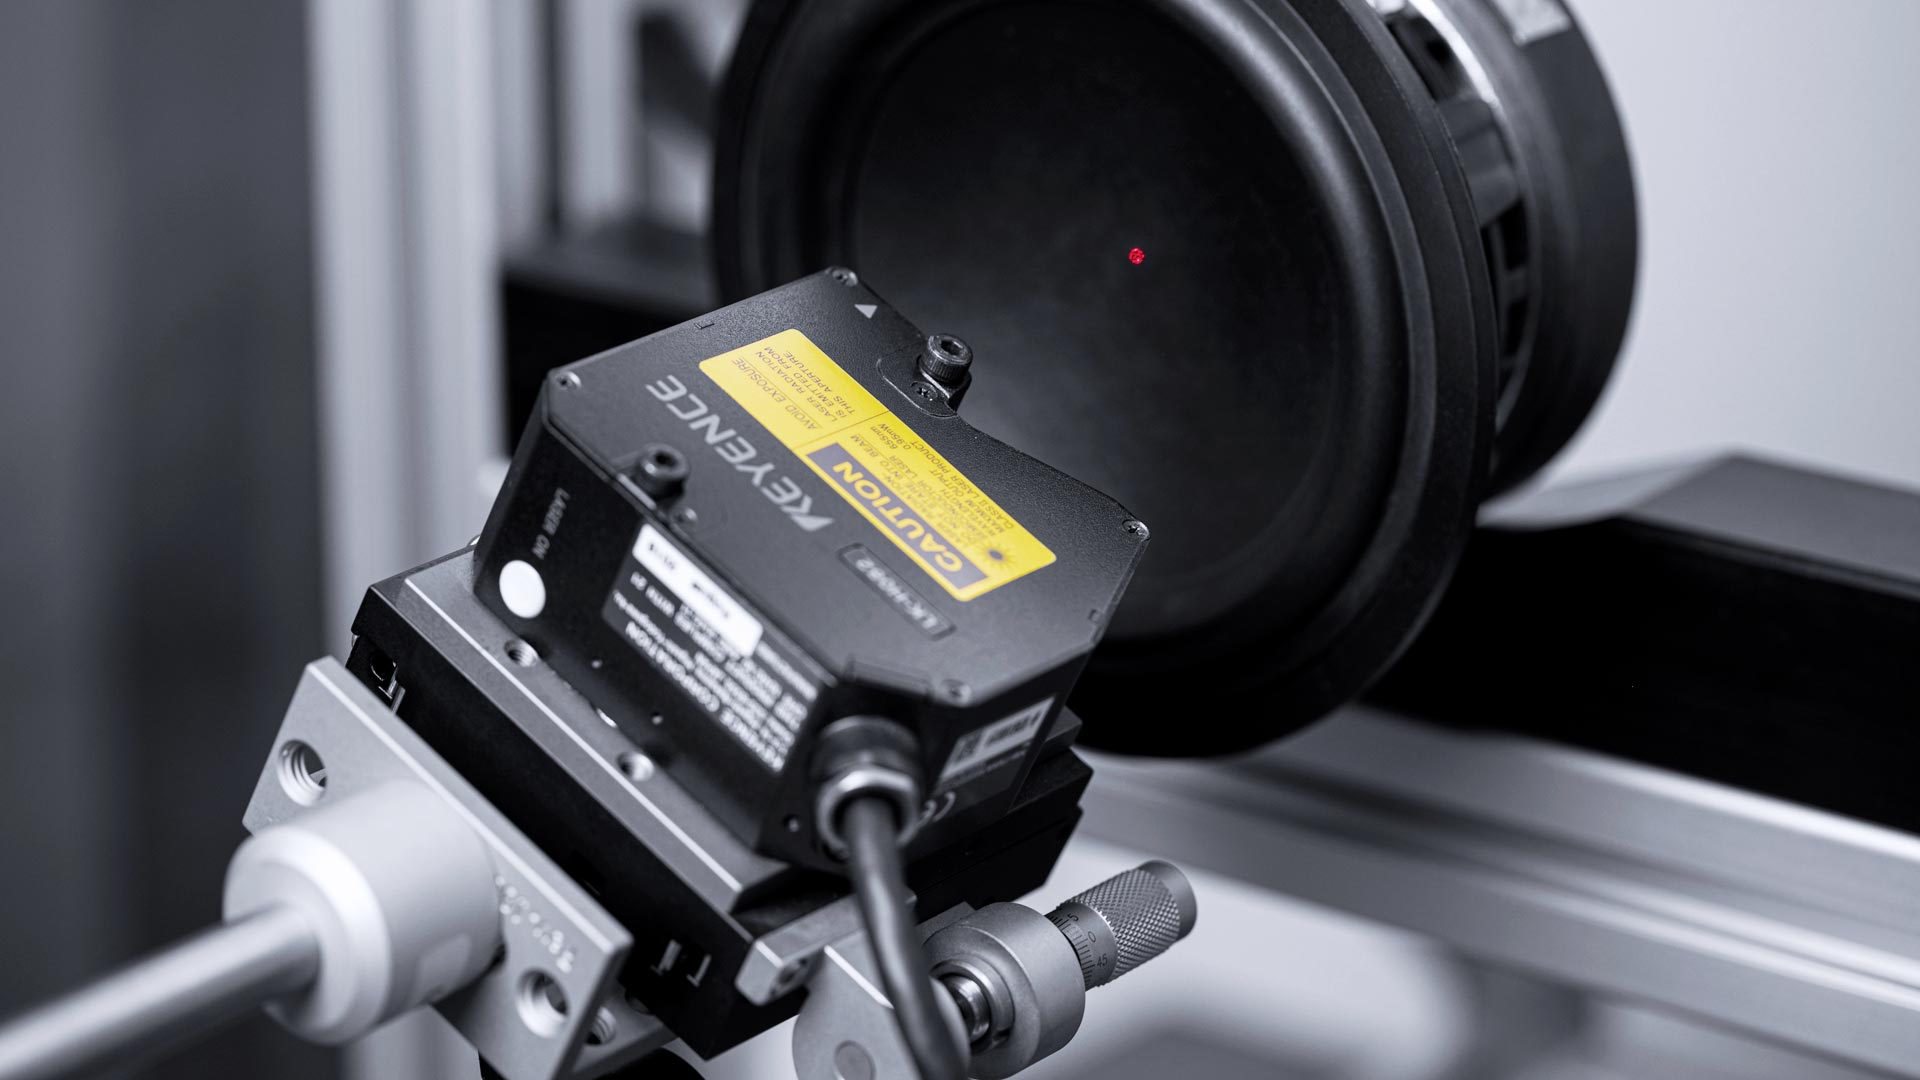
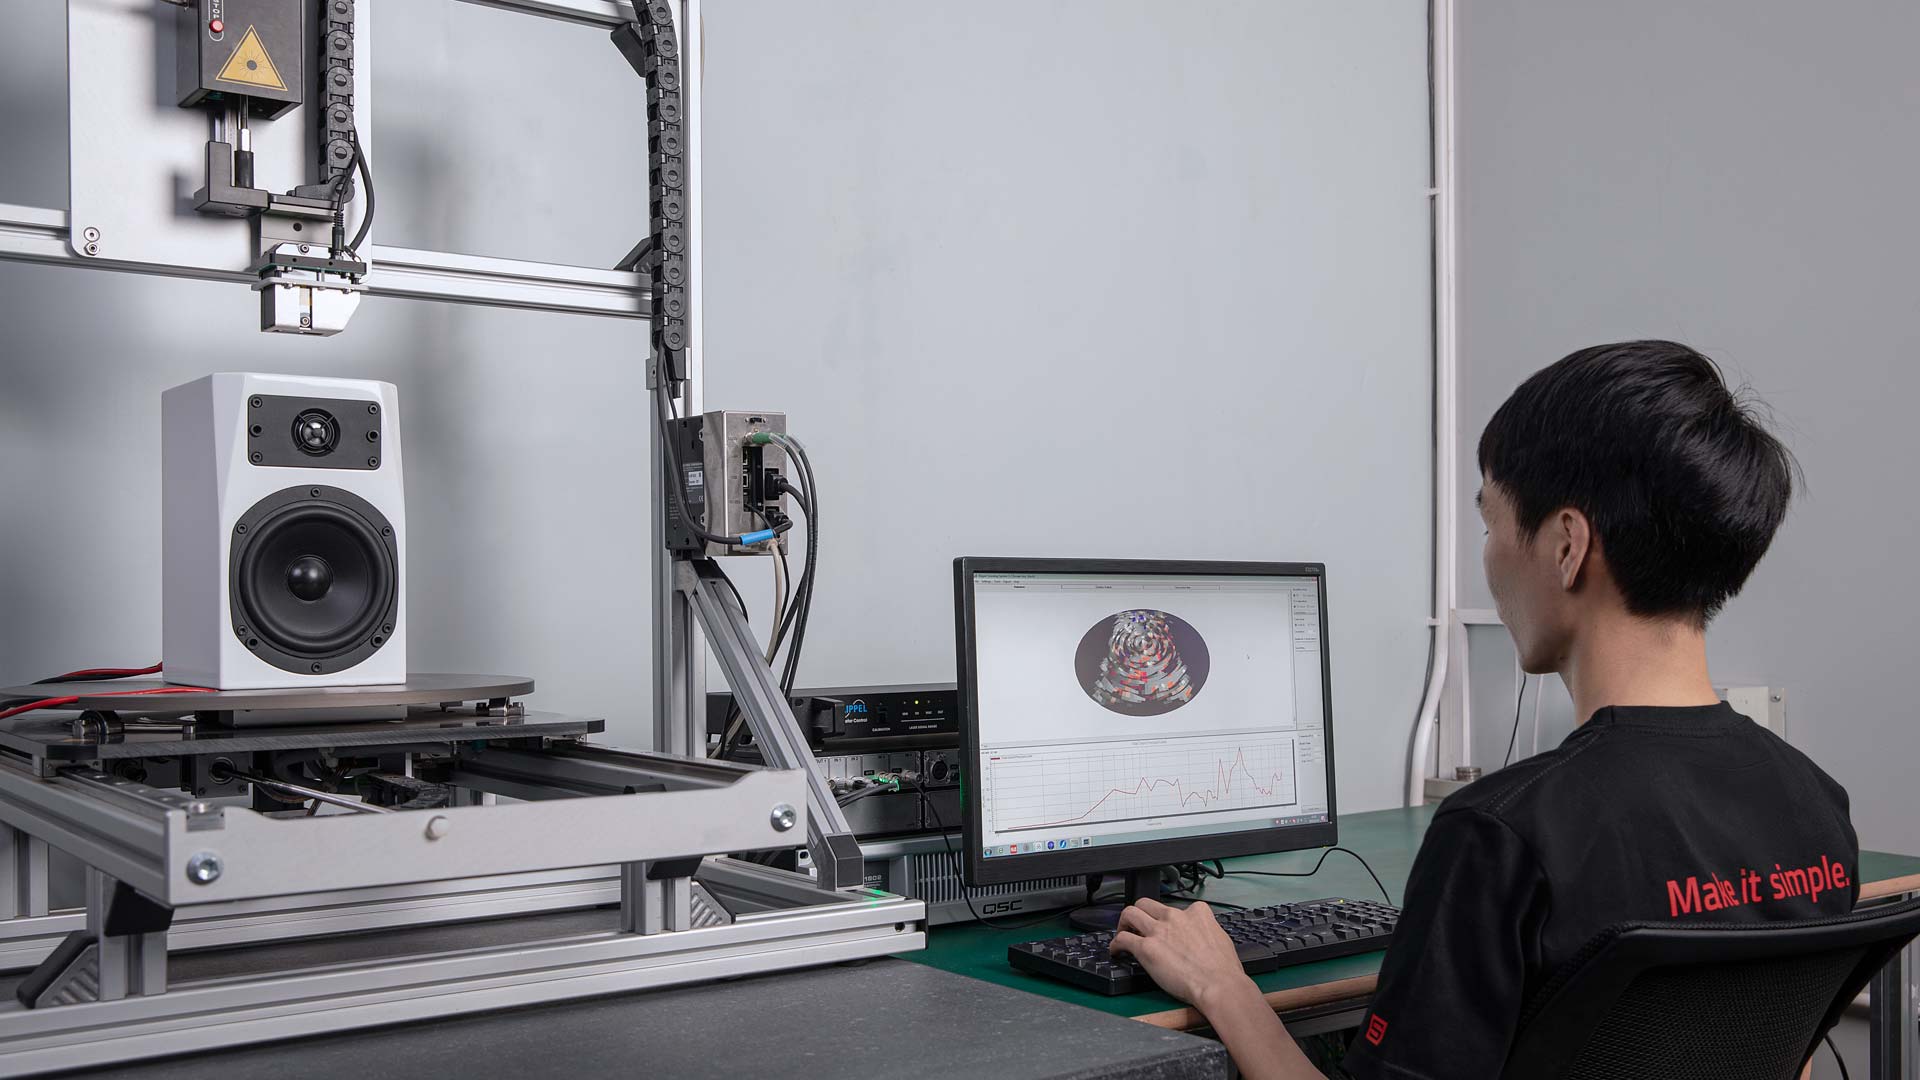
Measure the vibration and geometry of radiators,
enclosures and mechanical structures used in loudspeaker,
micro-speaker and other electro-acoustical
or electro-mechanical transducers.
Measure transducers mounted in an enclosure or in free air
Main features
Measure geometry and mechanical vibration of the transducer
Visualize the vibration behavior
Identify the Large Parameters and Thiel-Small parameters of any dynamic acoustic transducers
Uses
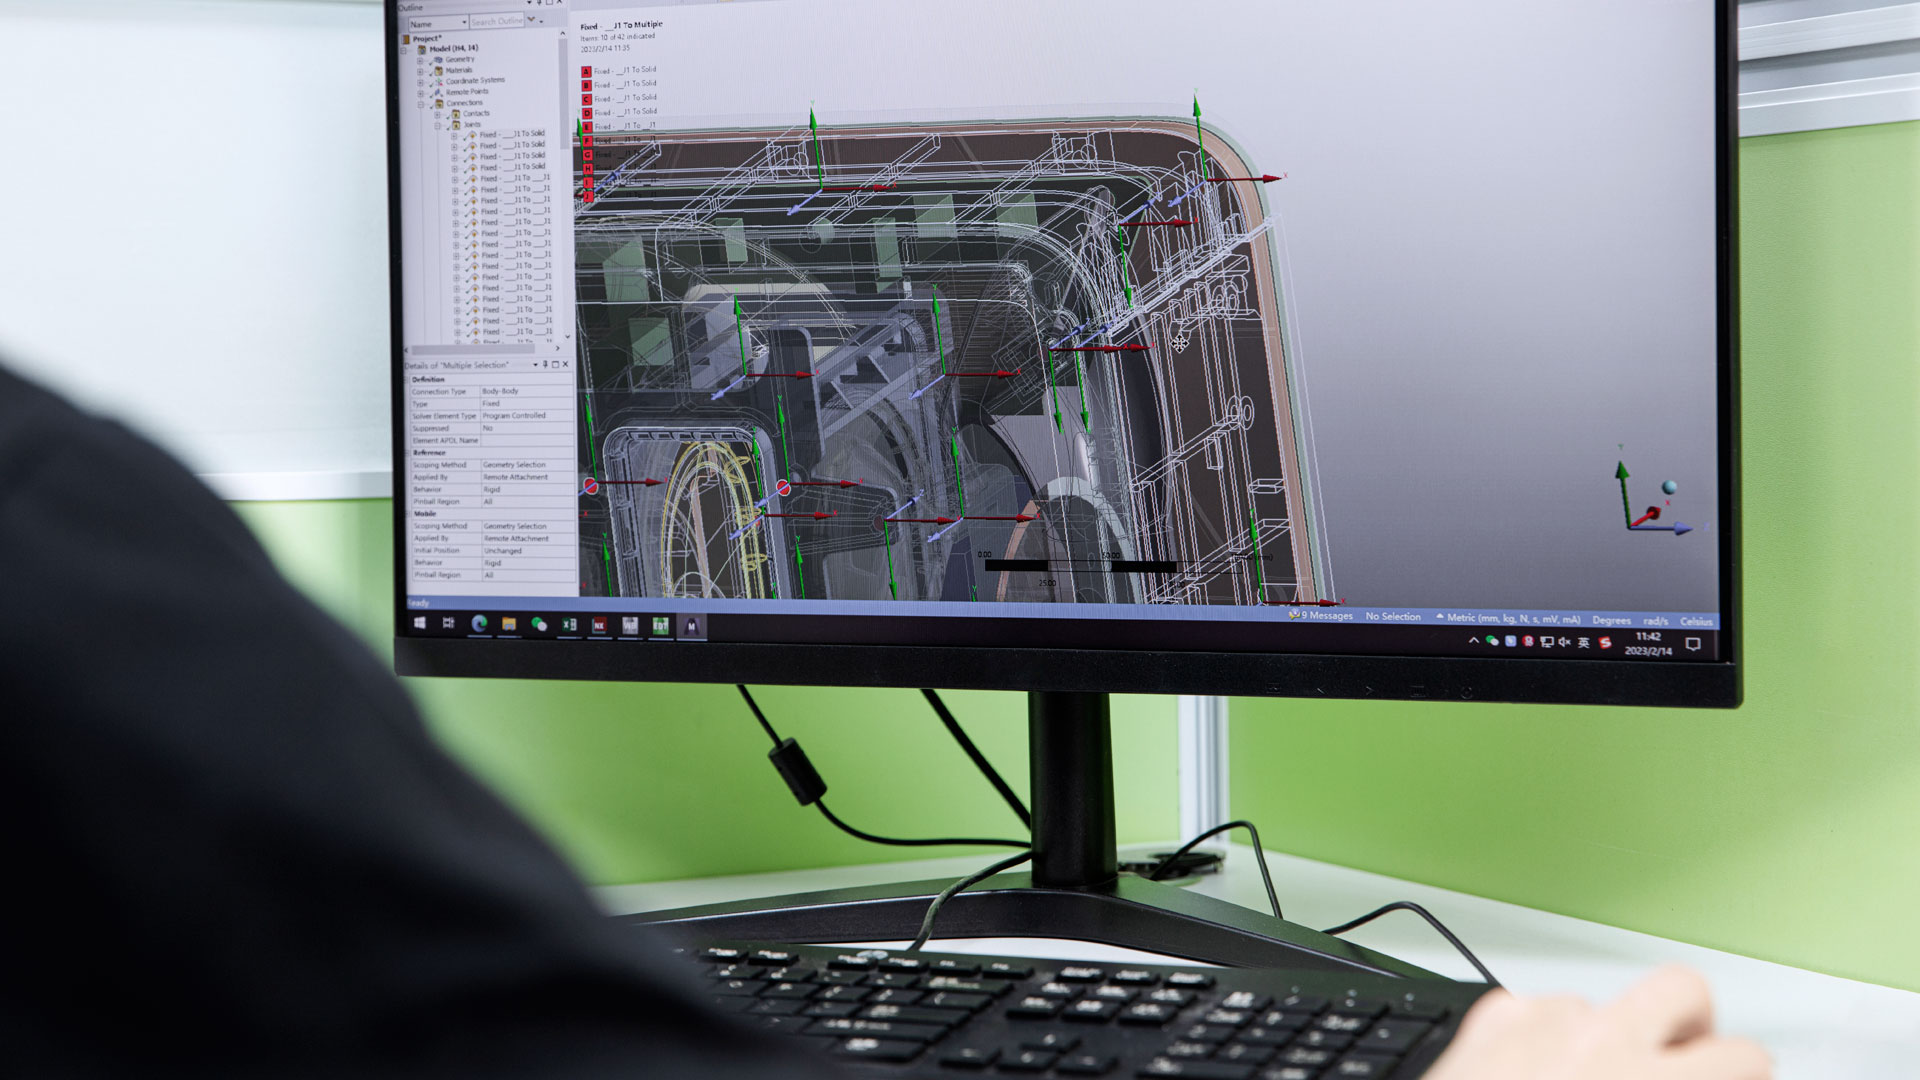
Simulation software for designing driver and loudspeaker
Main features
Vibration of diaphragm / cabinet
Magnetic field of motor
Sound wave dispersion in free air
User-defined material
Uses
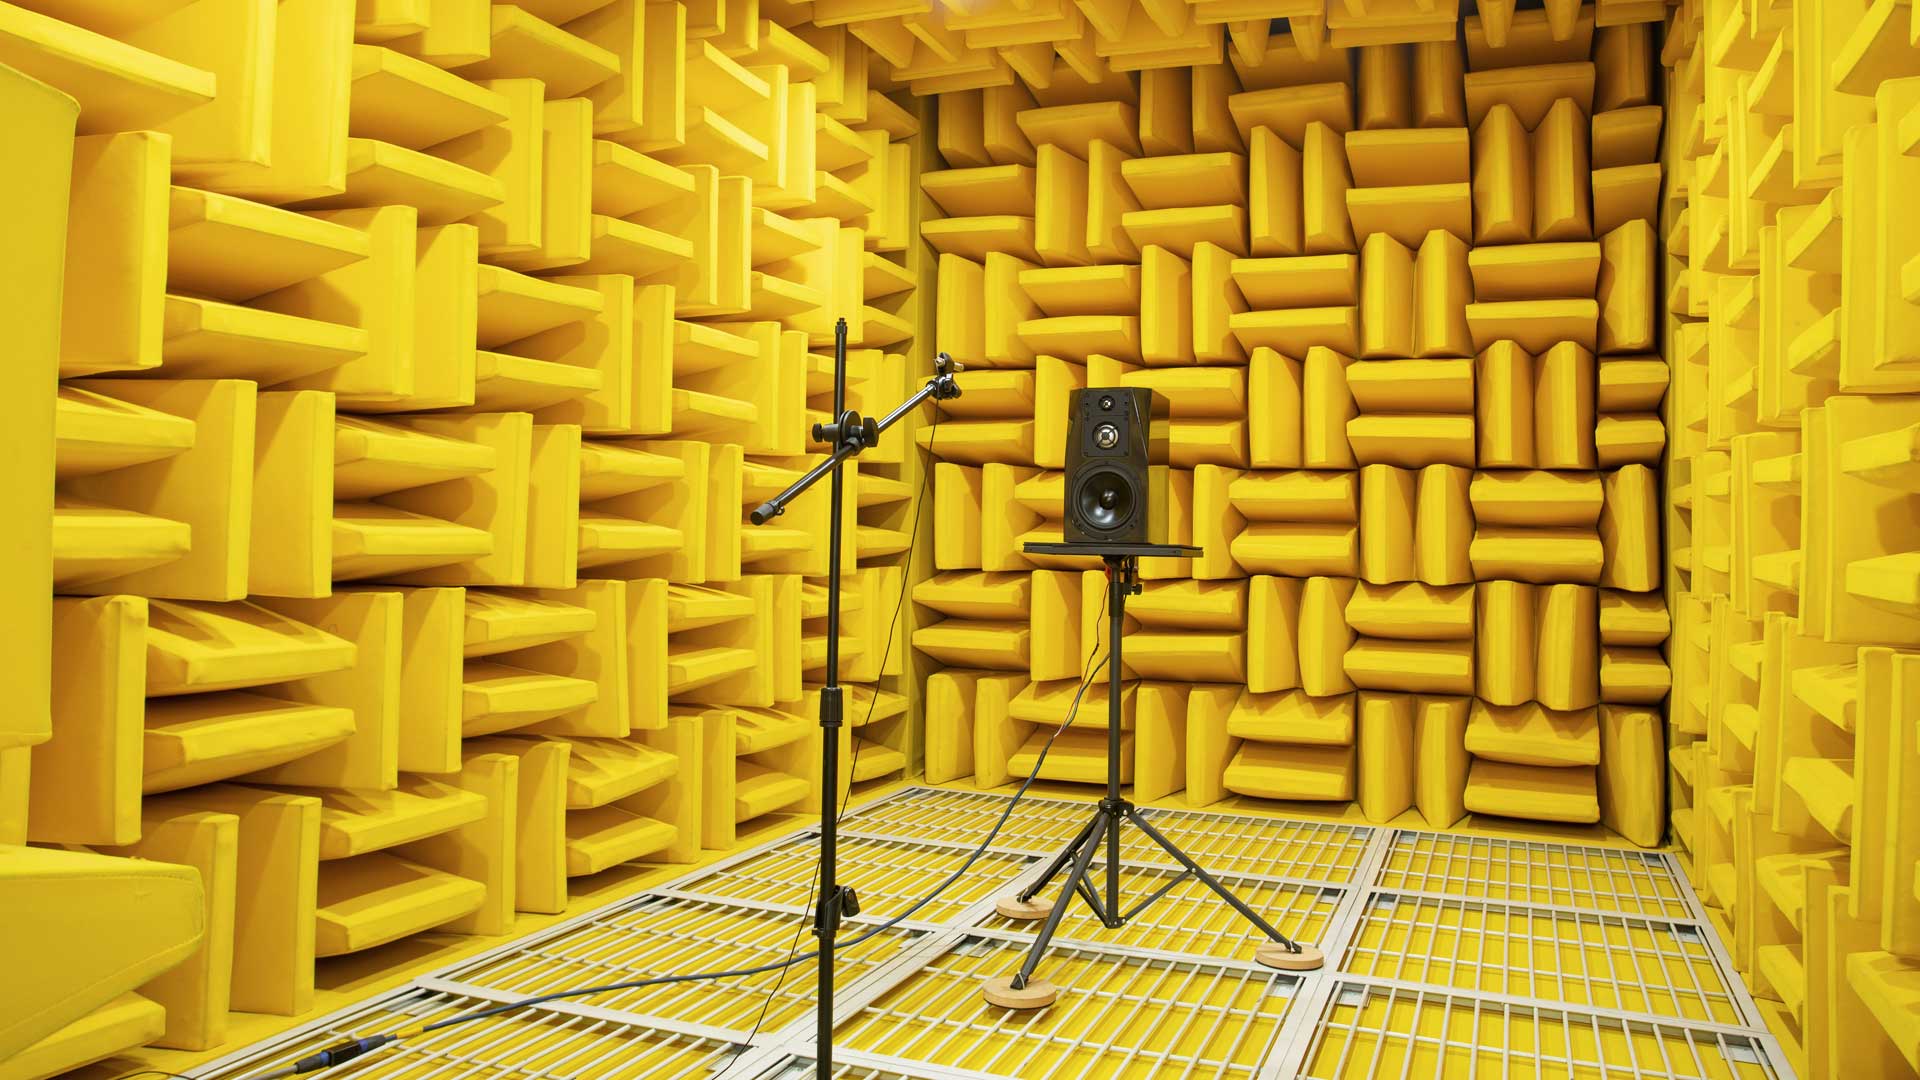
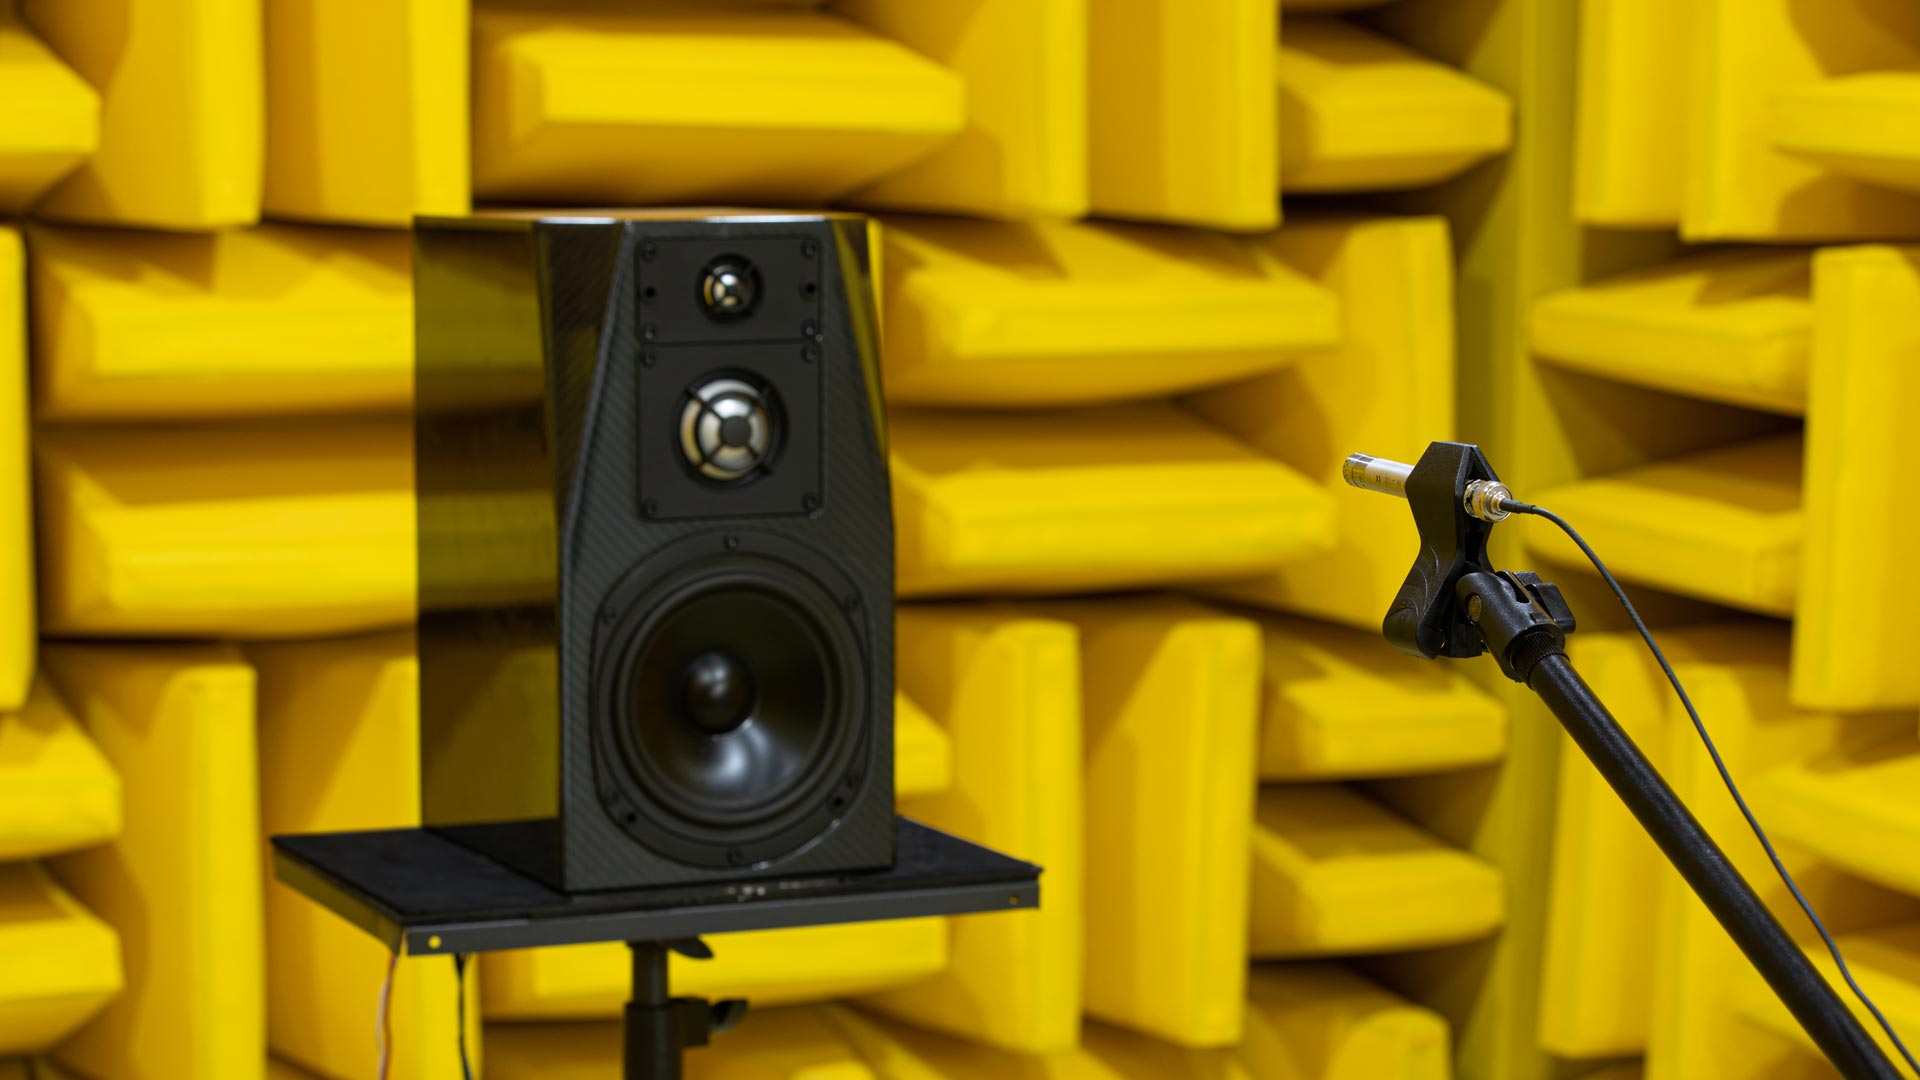
Allow to conduct acoustic measurement and experiment in nominal "free-field" conditions without reflected sound wave
Main features
Background noise levels in the less than 15 dBA
Chamber internal size: 4400L*2600W*2600H
Uses
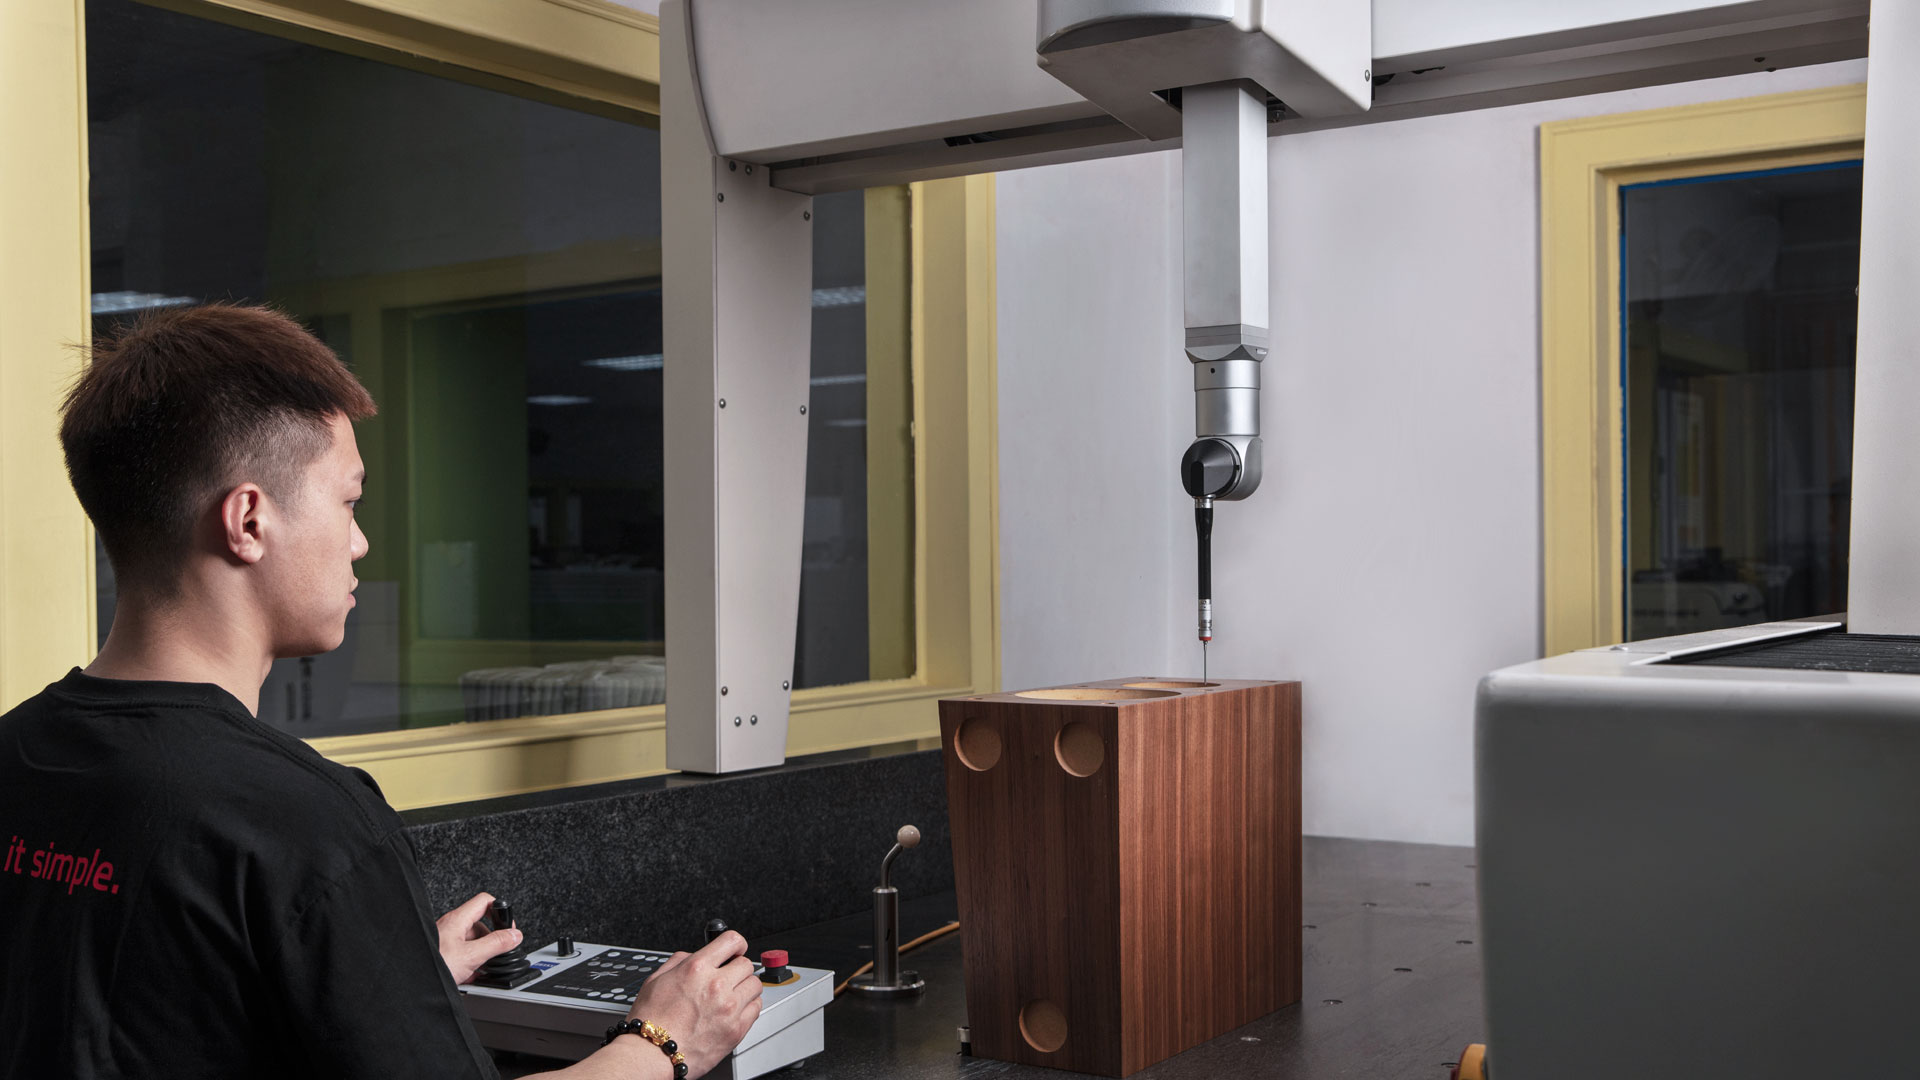
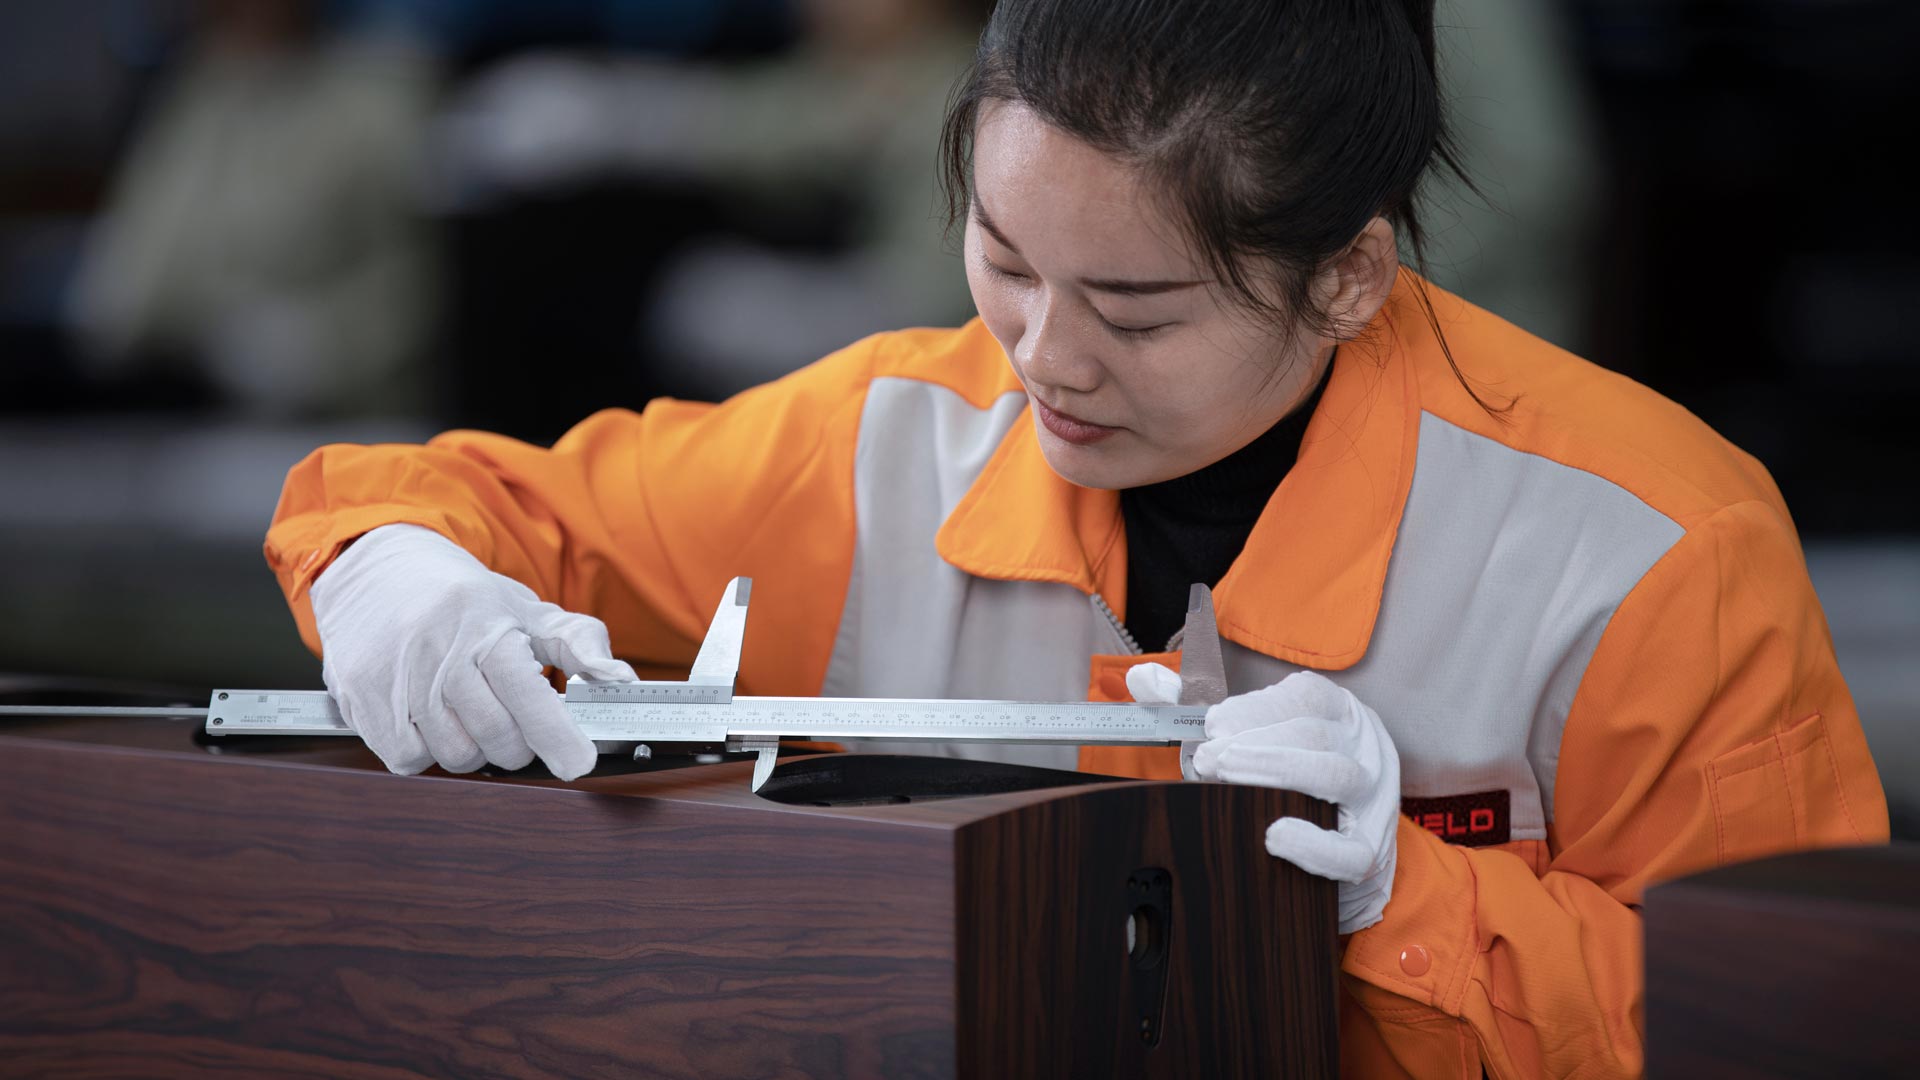
Performs accurate and precise physical and geometrical measurements on loudspeaker cabinets and components. It helps engineering and quality personnel to determine and make sure they conform to product and quality specifications from prototype to production stages.
Efficiently support various engineering and quality assurance tasks including FAI, CPK, sample examination & quality specification definition and regular production QC inspection
Main features
CMM model: Carl Zeiss Spectrum with Zeiss Calypso metrology software
Programmable measuring job improves measuring efficiency
Measuring range: 1000*1600*600 (X/Y/Z axis)
Accuracy: 5.6 μm
Length measurement error (E0): 2.4 μm+L/300
Single stylus form error (PFTU): 2.7 μm
Uses
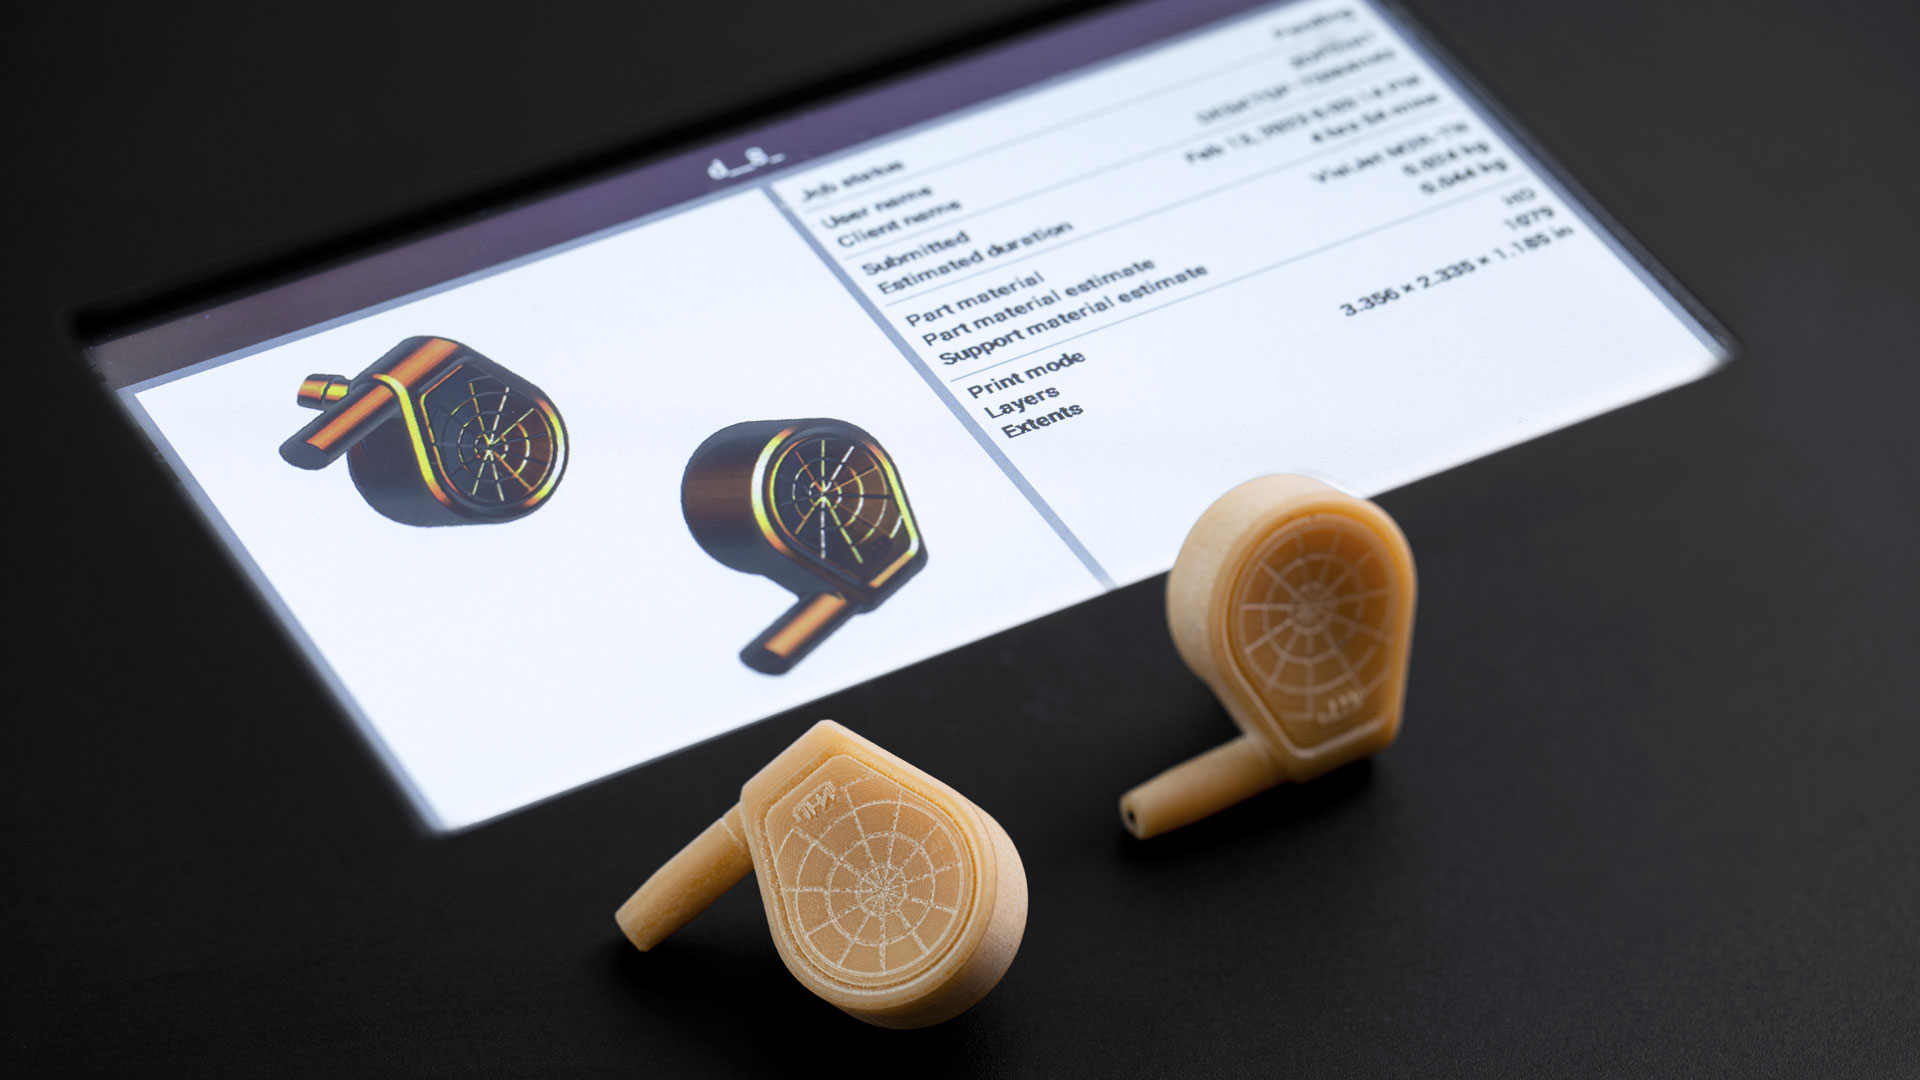
In-house quick and precise validation prototyping including concept modeling, form and fit testing, functional prototyping
Main features
3D printer model: 3D Systems ProJet MJP 2500
MultiJet (MJP) 3D printing technology
High Definition Resolution of 800 x 900 x 790 DPI
Using UV-curable liquid resin and wax-based supports
Uses
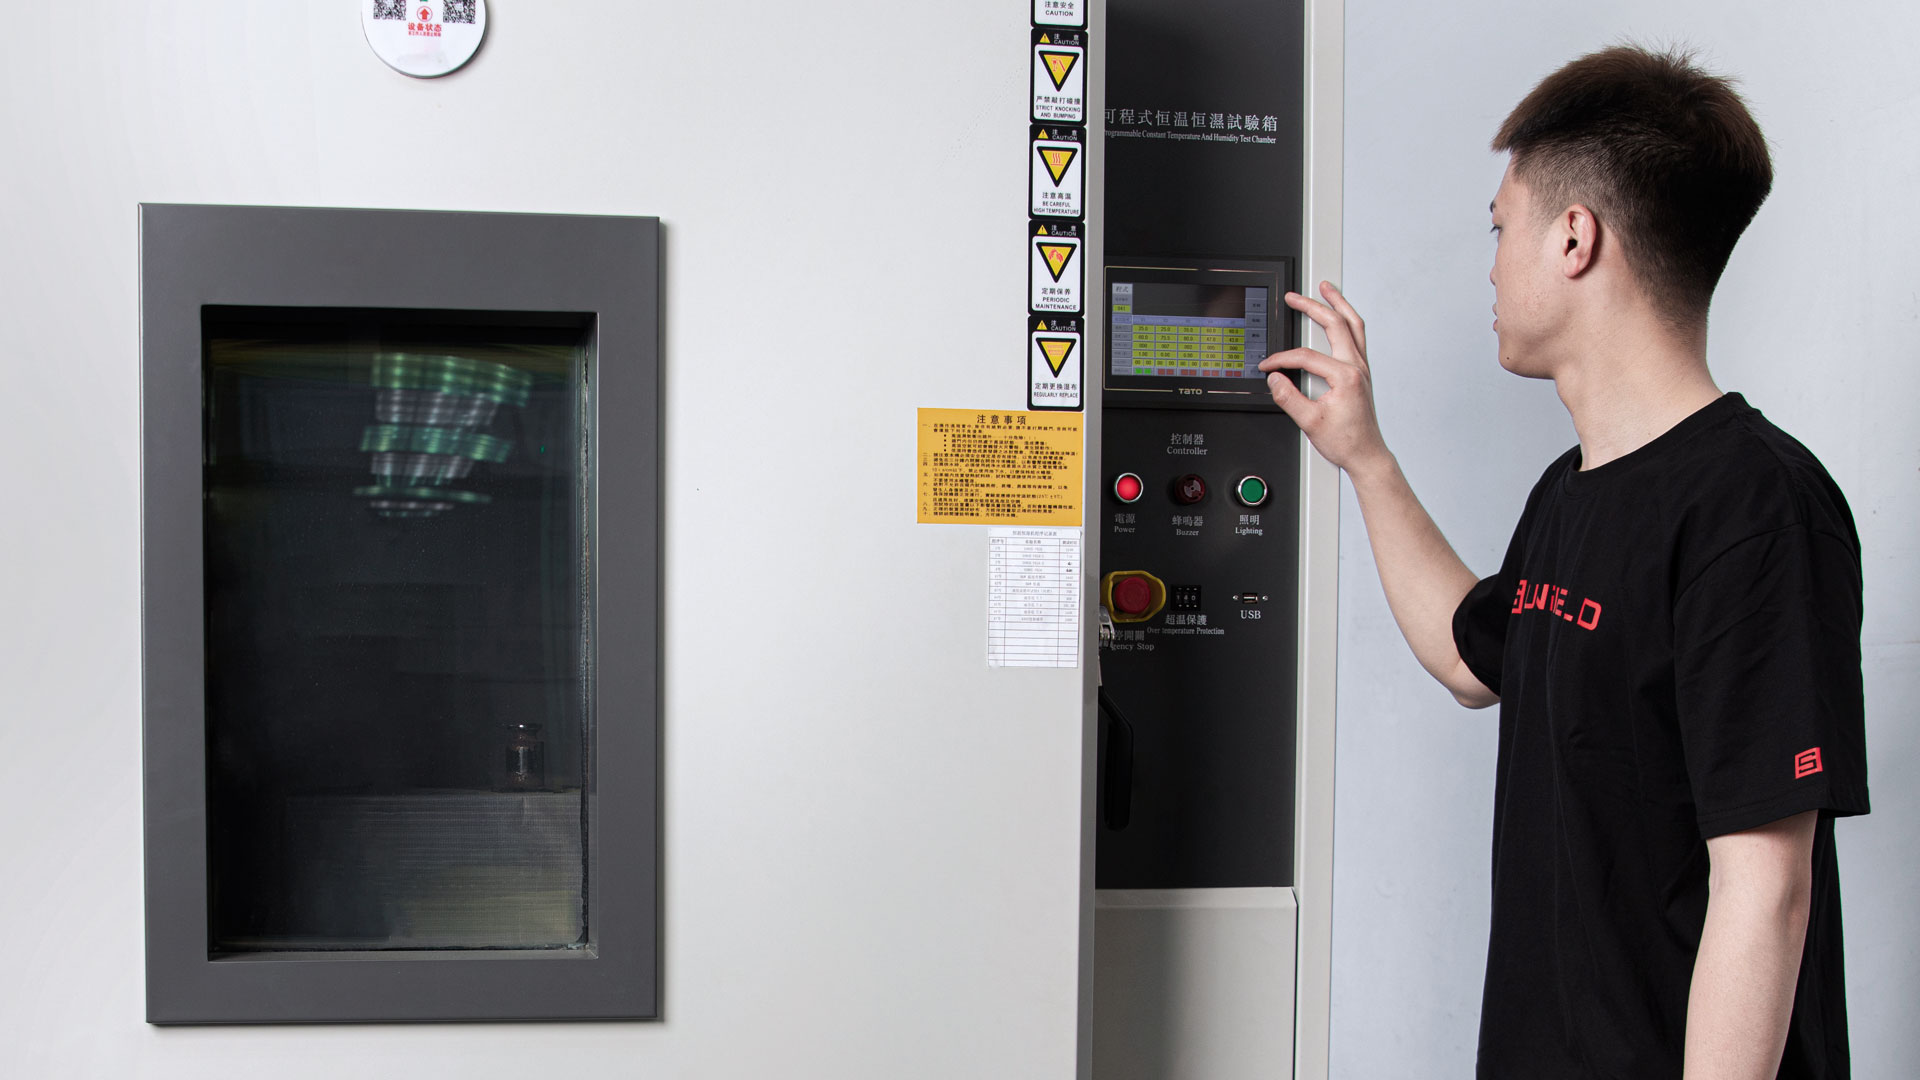
Simulate variety of conditions to analyze and identify the strengths and limitations in designs and set specification (hence warranties) of product.
Condition samples prior to testing.
Main features
Programmable temperatures & humidity control
Chamber volume: 1500L & 1000L
Temperature range: -40°C to +150°C
Humidity range: 20%RH to 98%RH
Accuracy: ±1°C and ±2%RH
Ramp Rate: 3°C per minute (heating) and 1°C per minute (cooling)
